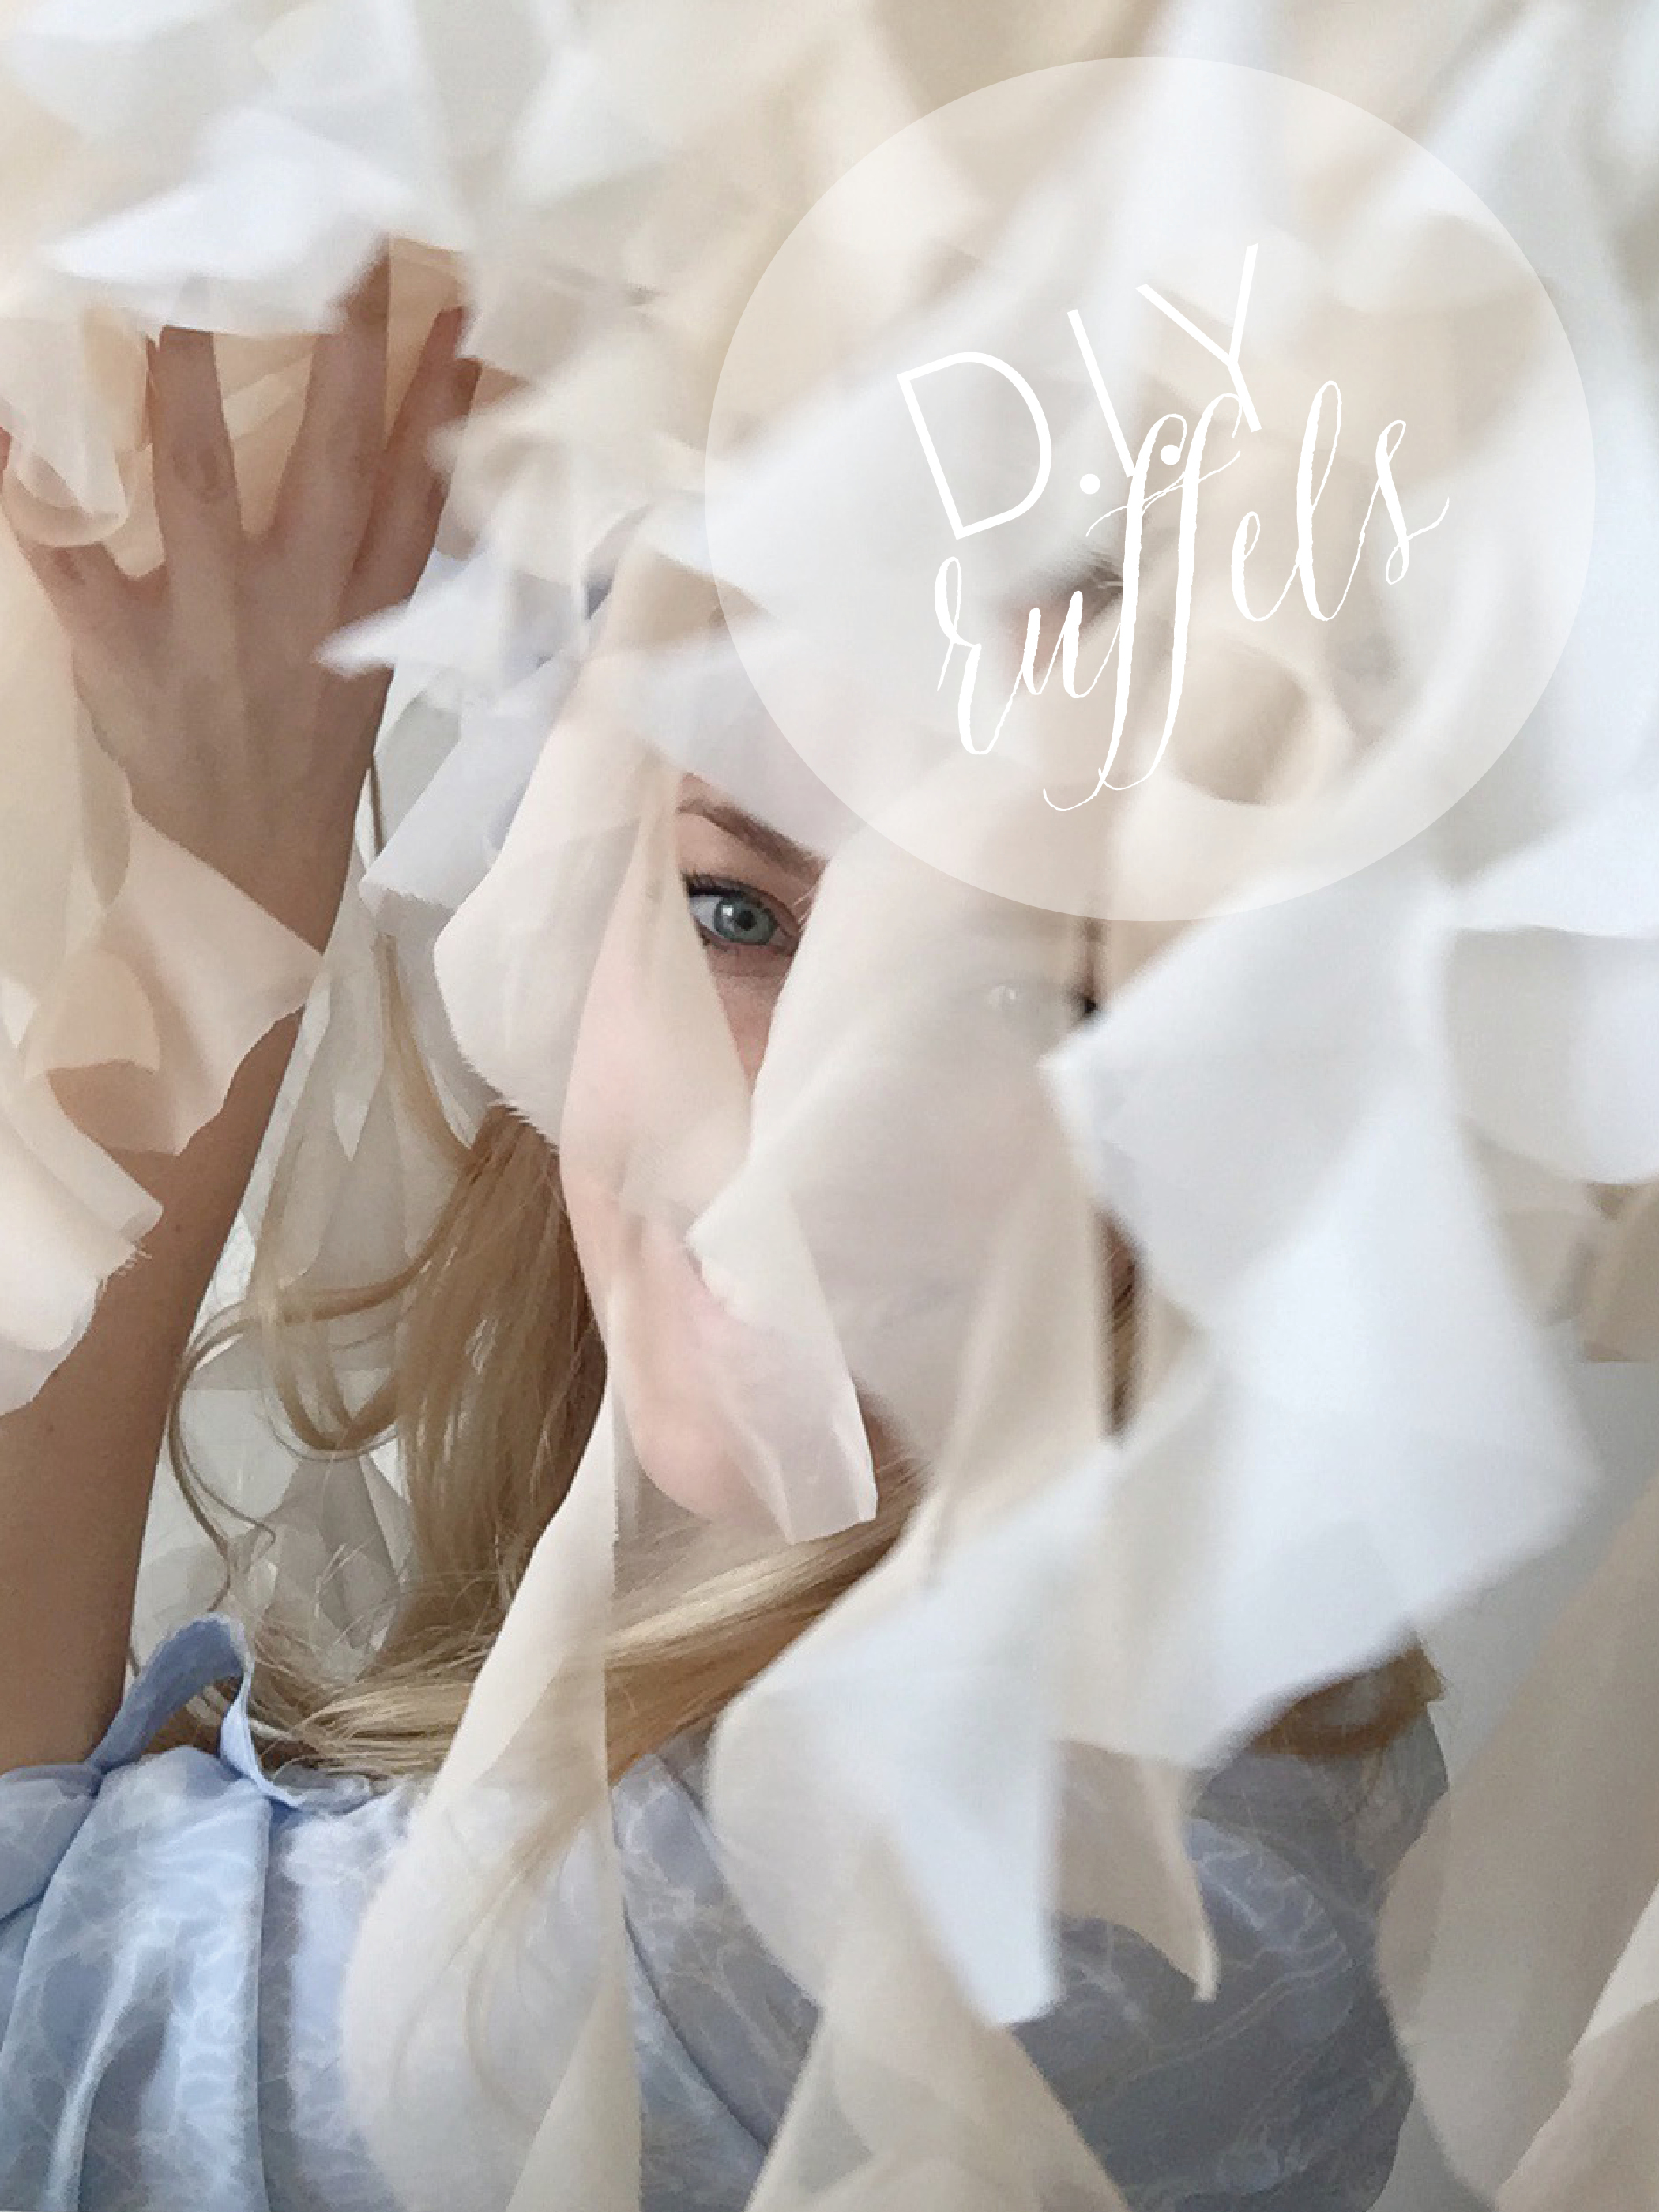
Ruffles, ruffles, ruffles...I love these ruffles!
Last week I promised a D.I.Y on these cute chiavary accents I made and showcased at the MME Show. I originally made them for my own wedding about a year ago. You'd think I would have remembered how I created them, but I literally spent one full hour cutting and folding strips of fabric with no success. Well let me tell you -there was no folding involved! I'll be honest I had to do some online research to jog my memory and apparently it's all about the "layering" and no folding. So with this being said, follow me closely as I explain this 3 step process.
First thinks first -the fabric is key. I myself used a sheer wrinkle free fabric. I didn't however, check the tightness of the weave itself and so it began to fray at the edges. It's not entirely noticeable, but if your going to reuse these multiple times you're going to want to have a better fabric. In fact you can use any fabric in just about any weight.
Cut 8 squares of fabric 6 inches by 6 inches. Then, layer them one on top of the other. NO folding! Don't make the same mistake I did.
This will give you one finished chiavary ruffle. 1 yard of fabric should cover about 6 to 8 chairs.


Now that you have all 8 square on top of each other, begin cutting in a spiral like pattern as seen in the image on the right. Because you've layered fabric sheets, your essentially cutting the work load in half instead of snipping each individual square. Don't worry about the 90 degree edges. You can either round them off or leave them like I do, seen in the picture below.


Now that you have all your pieces cut, gather the end tips and sew them together with a needle and thread. If your using your ruffles for a "side" accent then I would suggest sewing in an elastic loop. If your using them on an existing chair cover you can simply use a crystal broach.
And voila! It's just that simple! If your still having trouble leave us a comment below and we'll be glad to help as best we can!
Enjoy:)
